Automotive Seam Sealer Tape Preparation Tips
Ellie Moore

Photo: Unlock automotive longevity! Learn essential seam sealer tape prep tips to prevent rust & ensure lasting vehicle protection.
The Unsung Hero of Automotive Longevity: Mastering Seam Sealer Tape Preparation
In the intricate world of automotive repair and restoration, countless details contribute to a vehicle's longevity and structural integrity. Among these, the proper application of automotive seam sealer tape often goes unnoticed, yet it plays a critical role in preventing rust, corrosion, and moisture ingress. Think of it as the unsung hero, quietly safeguarding your vehicle's vulnerable joints and seams. But here's the crucial catch: even the highest quality seam sealer tape is only as effective as its preparation.
This article delves deep into the art and science of automotive seam sealer tape preparation tips, offering a comprehensive guide for enthusiasts and professionals alike. By mastering these techniques, you'll ensure a bond that not only lasts but actively contributes to your vehicle's enduring health and value.
Why Proper Preparation is Non-Negotiable for Automotive Seam Sealer Tape
The primary function of automotive seam sealers, whether in liquid or tape form, is to seal gaps and joints between panels, preventing water, dust, and air from entering and causing rust and corrosion. However, improper application or failure of seam sealant can lead to significant damage, including severe rust and structural compromise. The truth is, the majority of adhesion failures in automotive applications stem not from the adhesive itself, but from inadequate surface preparation.
Imagine building a house on a sandy foundation – no matter how strong the walls, the structure is destined to fail. Similarly, applying seam sealer tape to an unprepared surface is an invitation to adhesion failure, leading to:
- Corrosion Protection Issues: Without a proper seal, moisture can wick into spot-welded seams, leading to rust that can ruin seams and necessitate panel replacement.
- Adhesive Failures: The seam sealer tape might lift, bubble, or peel away prematurely, leaving the underlying metal exposed.
- Compromised Structural Integrity: Over time, unsealed or poorly sealed seams can weaken the vehicle's body panels and structural components, leading to costly repairs.
- Aesthetic Discrepancies: A poorly applied seam sealer can look messy and unprofessional, detracting from the overall finish of a repair or restoration.
The goal of preparation is to create an optimal surface for bonding, maximizing the contact area and ensuring the adhesive can form strong molecular bonds.
The Right Tools for the Job: Gearing Up for Success
Before you even think about applying seam sealer tape, gathering the correct tools and materials is paramount. Having everything on hand streamlines the process and ensures a professional finish.
Here’s your essential toolkit:
- Safety Gear:
- Gloves: Chemical-resistant gloves (latex or nitrile) are crucial to protect your hands from cleaners, solvents, and the seam sealer itself.
- Eye Protection: Safety glasses or goggles are a must to protect against splashes or airborne debris during cleaning and sanding.
- Respirator: Especially when dealing with solvents, primers, or sanding, a proper respirator protects your lungs.
- Cleaning Supplies:
- All-Purpose Cleaner/Degreaser: A high-quality automotive-grade cleaner and degreaser to remove heavy contaminants.
- Silicone-Free Wax and Grease Remover: Essential for eliminating any lingering residues that could compromise adhesion.
- Clean, Lint-Free Cloths or Paper Towels: Crucial for wiping surfaces without leaving behind fibers.
- Compressed Air: For blowing off dust and debris after sanding and cleaning.
- Surface Preparation Tools:
- Abrasive Hand Pads (e.g., Scotch-Brite™ maroon or gray): For scuffing surfaces to improve adhesion.
- Sandpaper (various grits, e.g., 80, 180, 400): For dressing welds, feather-edging, and preparing primed surfaces.
- Wire Brush/Scraper (for old sealer removal): If replacing existing sealer, these help remove old, deteriorated material.
- Heat Gun (optional, for old sealer removal): Can assist in softening old sealant for easier removal.
- Primer (if required): A high-quality two-component urethane or epoxy primer, or a suitable adhesion promoter.
- Masking Tape: For creating clean lines and protecting adjacent areas.
- Seam Sealer Tape: The specific type recommended for your application (e.g., 3M Seam Sealer Tape, JTAPE Seam Sealing Tape).
- Application Tools:
- Roller or Spreader: For pressing the tape firmly and evenly, ensuring proper adhesion.
- Sharp Knife or Razor: For cutting the tape to shape.
Step-by-Step Automotive Seam Sealer Tape Preparation
The success of your seam sealer tape application hinges on meticulous preparation. Follow these steps carefully to ensure a durable and effective seal.
Step 1: Thorough Cleaning – The Foundation of Adhesion
This is arguably the most critical step. Any dirt, grease, oil, dust, or other contaminants will act as a barrier, preventing the seam sealer tape from bonding properly.
- Initial Wash: Begin by cleaning the entire repair area with soap and water to remove loose dirt and debris. Rinse thoroughly and dry with a clean towel.
- Degrease and De-wax: Follow with an all-purpose cleaner and degreaser. Then, use a silicone-free wax and grease remover. Apply the cleaner to a clean, lint-free cloth and wipe the surface thoroughly. Do not spray or saturate the seams directly, as cleaner migrating into the seam can compromise adhesion.
- Repeat Cleaning: It's often beneficial to repeat the degreasing step to ensure all contaminants are removed. A good rule of thumb is to wipe until your clean cloth shows no signs of residue.
Step 2: Surface Preparation – Creating the Perfect Canvas
Once clean, the surface needs to be prepared to maximize the mechanical and chemical bond of the adhesive. This involves roughening the surface and addressing any imperfections.
- Remove Old Sealer (if applicable): If you're replacing old, deteriorated seam sealer, carefully remove it using a scraper, wire brush, or a hot air gun to soften it. Ensure all traces of the old material are gone.
- Address Rust and Imperfections: If rust is present, remove it completely. This may involve using a rust converter or sanding the surface smooth. For direct-to-metal (DTM) applications on welded surfaces, dress welds and imperfections with an 80-grit abrasive file belt. Feather-edge any scratches with a 180-grit abrasive.
- Scuffing for Adhesion: Even on new or primed surfaces, scuffing is vital. Use a light abrasive hand pad (like a maroon or gray Scotch-Brite™ pad) to create a mechanical profile for the adhesive to grip. This increases the surface energy, promoting better wetting and stronger adhesion.
- Blow Off and Tack Clean: After scuffing or sanding, use clean, dry compressed air to blow off all dust and abrasive particles. Follow this with a tack cloth to pick up any remaining lint or dust.
Step 3: Temperature and Environment – Setting the Stage
Environmental conditions significantly impact the performance and curing of sealers and adhesives.
- Ideal Temperature: Most automotive adhesives and sealers perform best at room temperature, typically between 65°F and 75°F (18°C – 24°C). Ensure the vehicle and the seam sealer tape itself have been at this temperature for at least an hour prior to application.
- Humidity: Maintain a relative humidity between 40% and 60% for optimal conditions.
- Ventilation: Always work in a well-ventilated area, especially when using solvents and primers.
Step 4: Primer Application (If Necessary) – Boosting Adhesion
While some seam sealer tapes are designed for direct application to certain substrates, applying a primer often provides an additional layer of corrosion protection and significantly enhances adhesion, especially for two-part sealers or areas subjected to flexing.
- Consult Manufacturer Instructions: Always refer to the seam sealer tape manufacturer's recommendations. Some tapes are designed to be applied over a quality 1K or 2K seam sealer that has been tooled smooth, rather than directly to bare metal or primer. Others recommend an adhesion promoter.
- Types of Primer: A high-quality two-component urethane or epoxy primer is generally recommended. Avoid applying seam sealer directly over acid-based self-
Finance & Investment
View All
September 8, 2025
National Finance Company OverviewMaster expert SEO content to dominate search results. Learn to create high-value, authoritative content using User Intent & E-E-A-T for top rankings.
Ellie Moore

October 15, 2025
Finance vs Accounting Career GuideUnlock top search rankings with expert SEO content. Discover how to craft valuable, audience-focused material through smart keyword research & quality writing.
Ellie Moore

March 12, 2025
Business for Sale with Owner FinancingUnlock search dominance! Learn to create expert SEO content focused on value, user needs, and Google's E-E-A-T framework for top rankings.
Ellie Moore

August 19, 2025
Exeter Finance Auto Loans ReviewMaster expert SEO content to dominate search. Create high-value, authoritative content that Google and users love, leveraging E-E-A-T for top rankings.
Ellie Moore

April 23, 2025
Aqua Finance Login and Account HelpCraft expert SEO content that ranks higher & engages readers. Master E-E-A-T, depth, and originality for authoritative, trust-building content.
Ellie Moore

November 24, 2024
10 Simple Steps to Start Your Retirement Planning TodayBegin your retirement planning journey with these 10 simple steps! Learn how to set goals, calculate savings, and create a plan. Start securing your future today!
Ellie Moore
Insurance
View All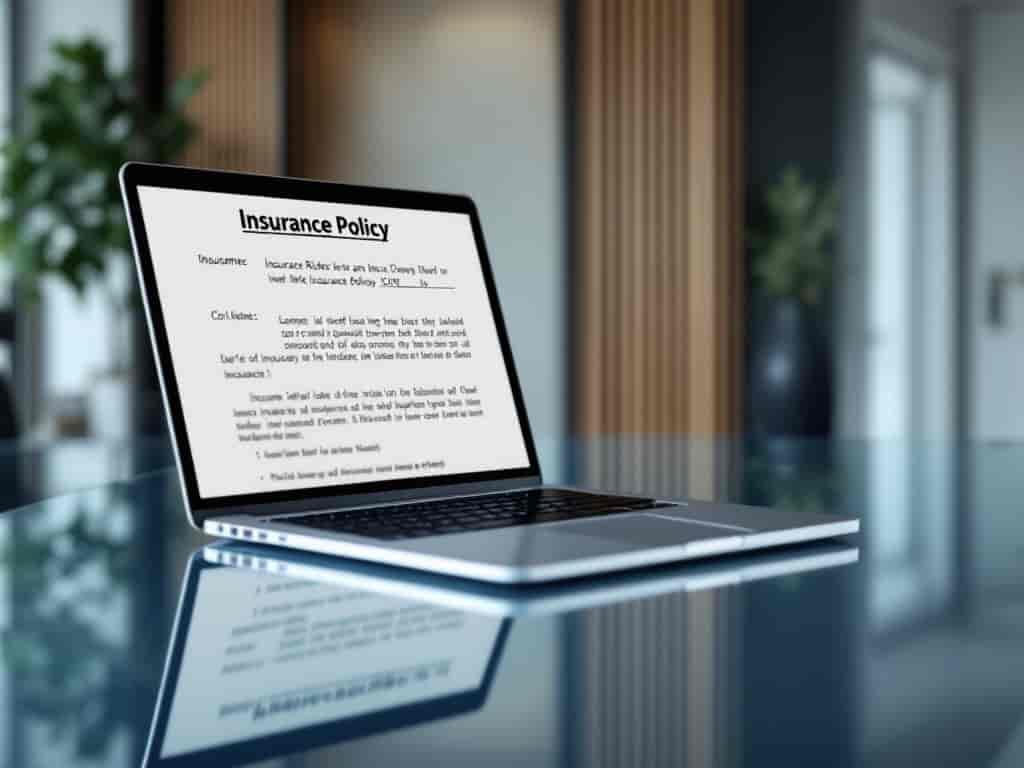
Enhance your coverage with insurance riders. Learn about their types, benefits, and why they’re crucial for customizing policies.
Ellie Moore

Secure optimal auto insurance coverage and significant savings! Our guide helps you compare top-rated companies to beat rising premiums.
Ellie Moore

Discover how microinsurance provides affordable coverage solutions for underserved populations worldwide.
Ellie Moore

Learn how self-insured companies manage risks, reduce costs, and create customized insurance solutions for employees.
Ellie Moore

Unlock superior oral health & financial security with Premium Delta Dental Insurance. Strategic coverage for individuals & businesses to mitigate risks.
Ellie Moore

Navigate risks & secure your future with The General Insurance Solutions. Essential for agents, policyholders & risk managers to optimize coverage & gain peace...
Ellie Moore


Education
View All
GPKP kritik keras Dinas TPH&Nak Musi Rawas soal transparansi pupuk bersubsidi. Penutupan data publik dinilai langgar UU KIP dan merugikan hak petani kecil.
Read More
Play is crucial in early learning! Discover how play-based learning enhances cognitive, emotional, and social development in young children.
Read More
Strong school-community partnerships can drive student success. Discover the benefits and strategies for effective collaboration.
Read More
Forest schools offer hands-on learning in nature. Discover how this approach nurtures creativity, problem-solving, and environmental awareness in students.
Read More
Discover how portfolio-based assessments offer a better way to measure student progress. See how they foster creativity and critical thinking.
Read More
Revive ancient teaching with the Socratic method! Learn how this questioning approach encourages deep thinking and active learning.
Read MorePopular Post 🔥
View All
1
2
3
4
5
6
7
8
9
10
Health


Automotive
View All
August 28, 2025
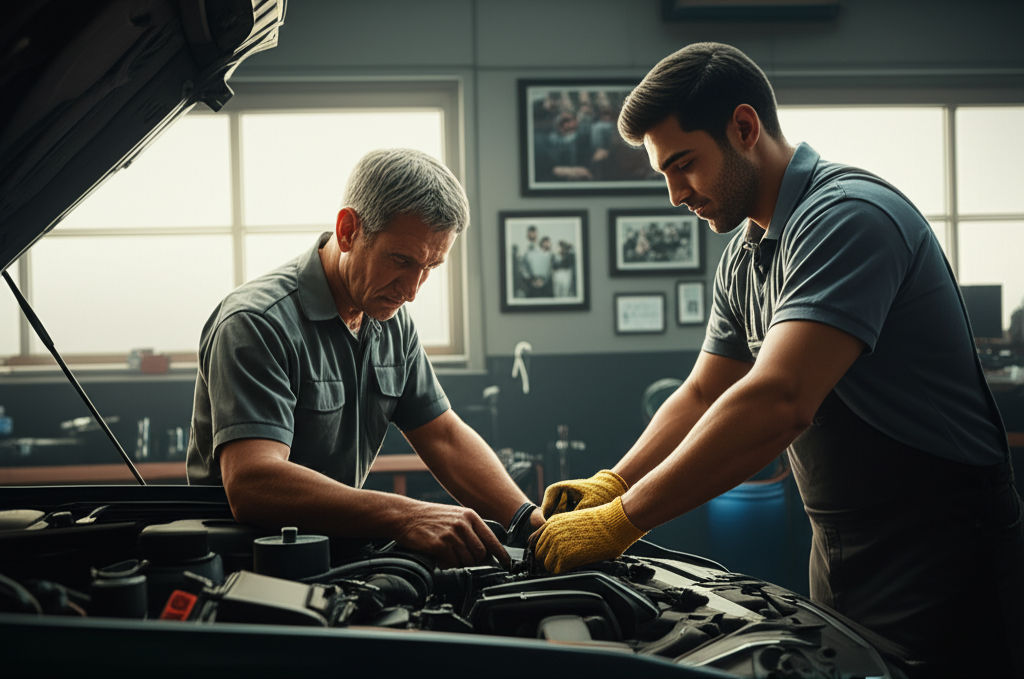
R&R Automotive Your Go-To Shop For Repairs
R&R Automotive: Your trusted shop for reliable car repairs & maintenance. Expect expert service, transparent pricing, and peace of mind.
August 15, 2025
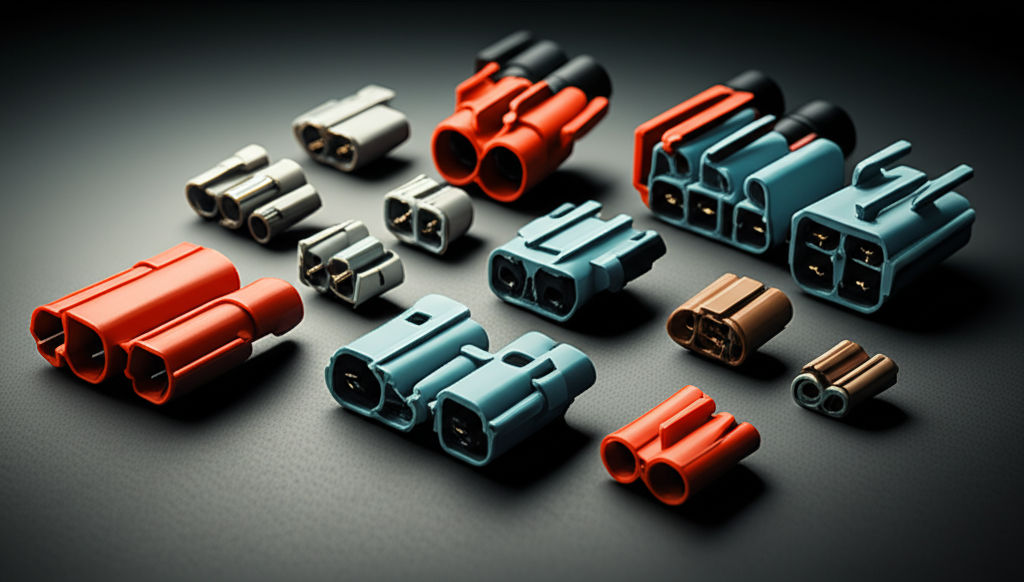
Best Automotive Electrical Connectors Reviewed
Boost vehicle safety & performance! This guide reveals why quality automotive electrical connectors are crucial & helps you choose the best ones.
July 14, 2025
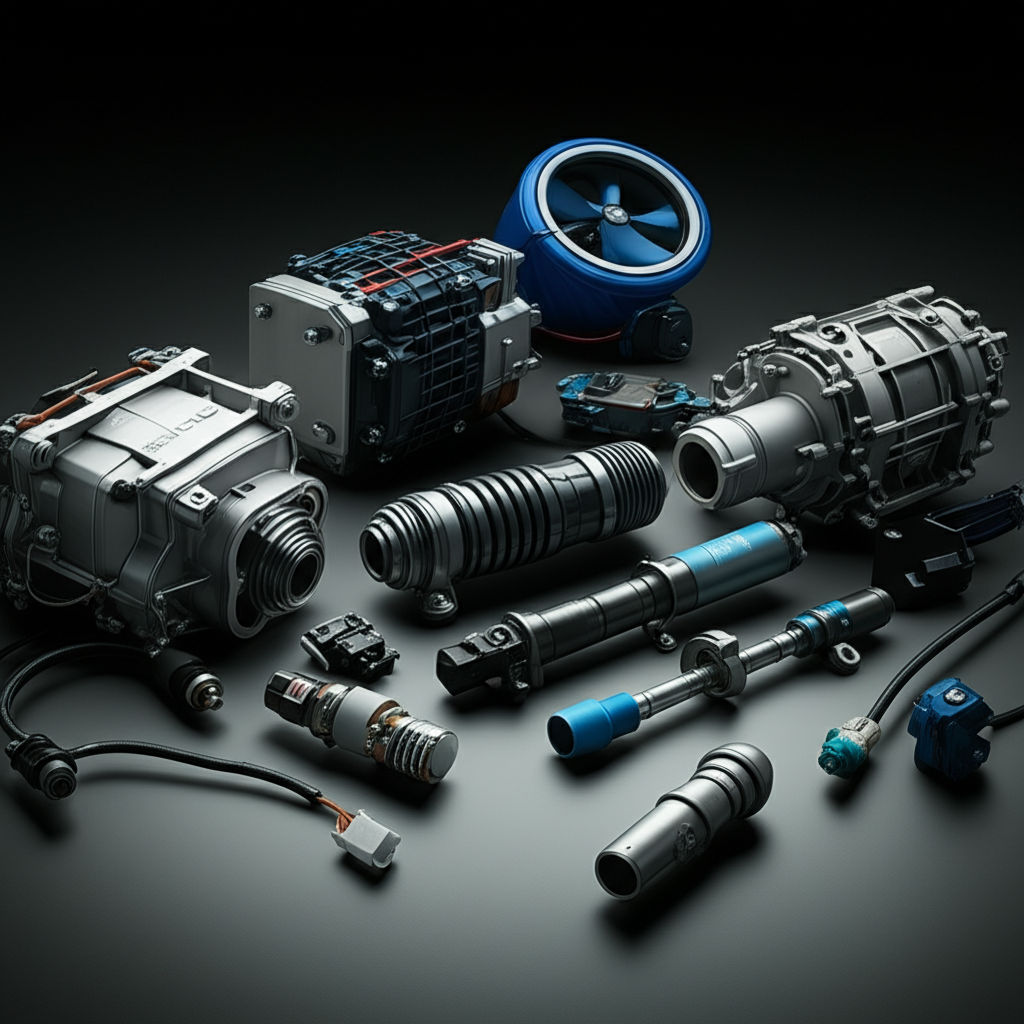
An Overview Of Automotive Components Holdings
Discover the automotive components industry! Learn about its structure, key players, trends, and challenges in this comprehensive guide.

February 4, 2025
Automotive Design Trends Shaping the Future
Discover emerging trends in automotive design. From futuristic aesthetics to smart features, explore what’s revolutionizing the car industry.
July 25, 2025
Family Automotive Shops You Can Trust Today
Find a trustworthy auto mechanic! This guide helps you locate reliable car repair shops that prioritize honesty & customer relationships for peace of mind.

February 5, 2025
Prepping Your Car for Extreme Weather Conditions
Stay safe in any weather! Learn how to prep your car for extreme conditions—whether it’s snow, heat, or storms. Don’t get caught unprepared!