DIY Car Detailing: Master the Art at Home
Ellie Moore
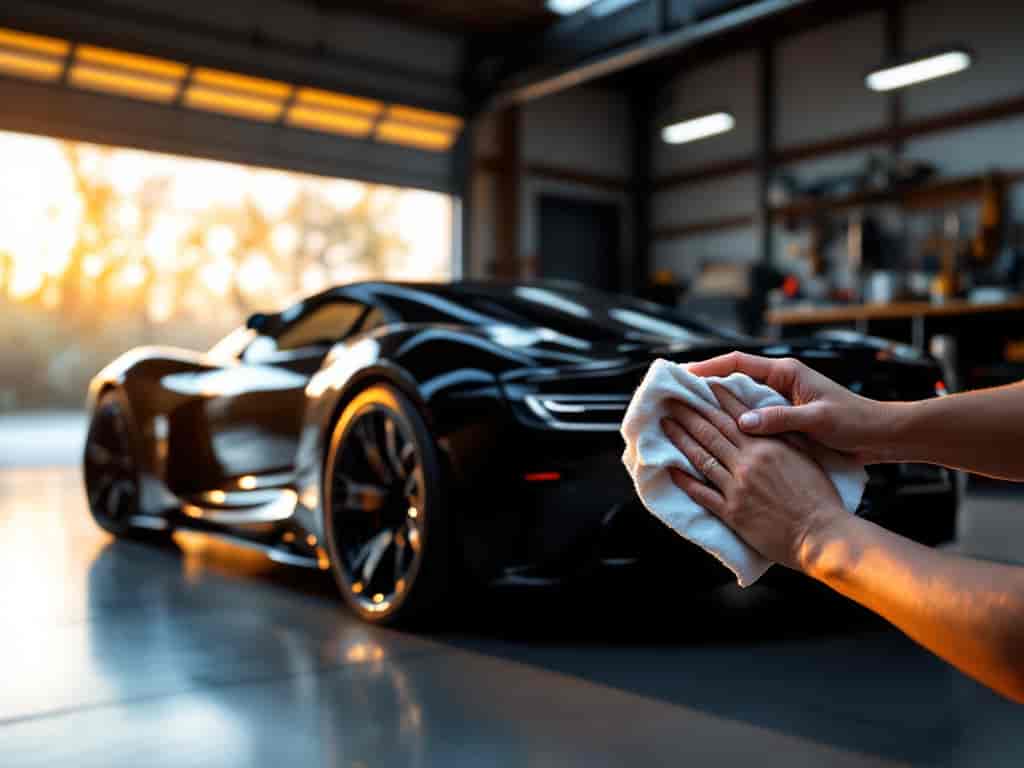
Photo: DIY Car Detailing: Master the Art at Home
DIY Car Detailing: Master the Art at Home
Maintaining your vehicle’s pristine appearance doesn't have to break the bank or require professional services. With the right techniques and tools, DIY car detailing allows you to achieve showroom-quality results from the comfort of your garage. This comprehensive guide will walk you through mastering the art of car detailing at home, ensuring your vehicle not only looks fantastic but also retains its value over time.
Why Choose DIY Car Detailing?
Opting for DIY car detailing offers numerous benefits:
- Cost-Effective: Save hundreds on professional detailing services.
- Customization: Tailor the detailing process to your specific needs and preferences.
- Satisfaction: Enjoy the pride of transforming your vehicle with your own hands.
- Convenience: Schedule detailing sessions at your own pace without waiting for appointments.
Essential Tools and Supplies for DIY Car Detailing
Before diving into the detailing process, ensure you have the necessary tools and supplies:
Exterior Detailing
- Car Wash Soap: Unlike household cleaners, car wash soap is formulated to remove dirt without stripping wax.
- Buckets: Two-bucket method one for soapy water and one for rinsing.
- Wash Mitts: Soft microfiber mitts prevent scratches.
- Drying Towels: High-absorbency microfiber towels for drying without streaks.
- Clay Bar: Removes embedded contaminants for a smooth surface.
- Polish and Wax: Enhance shine and protect the paint.
Interior Detailing
- Vacuum Cleaner: Preferably with attachments for tight spaces.
- Microfiber Cloths: For dusting and wiping surfaces without leaving lint.
- Interior Cleaners: Suitable for dashboards, seats, and other surfaces.
- Glass Cleaner: Ensures streak-free windows and mirrors.
- Brushes: For cleaning vents, upholstery, and carpets.
Additional Supplies
- Protective Gloves: Keep your hands clean and protected from chemicals.
- Masks: Prevent inhalation of dust and fumes during the detailing process.
- Lighting: Adequate lighting helps identify dirt and imperfections.
Step-by-Step Guide to DIY Car Detailing
1. Preparing Your Workspace
A clean, shaded area with ample lighting is ideal for DIY car detailing. This prevents water spots from forming during the wash and allows you to see all areas clearly.
2. Washing the Exterior
a. Rinse the Vehicle
Start by rinsing your car thoroughly with water to remove loose dirt and debris. Use a hose with a spray nozzle to reach all areas, including the wheels and undercarriage.
b. Two-Bucket Method
Fill one bucket with soapy water and the other with clean water for rinsing your wash mitt. Dip the mitt into the soapy water, wash a section of the car, then rinse the mitt in the clean water before reloading with soap. This method minimizes dirt reintroduction to the car’s surface.
c. Drying
Use high-quality microfiber drying towels to dry the vehicle. Pat dry instead of wiping to prevent scratches and swirls.
3. Claying the Paint
After washing and drying, use a clay bar to remove stubborn contaminants:
- Lubricate: Spray a clay lubricant on a small section of the car.
- Clay: Gently glide the clay bar over the lubricated area until it feels smooth.
- Repeat: Continue this process for the entire exterior.
4. Polishing the Surface
Polishing restores the paint’s shine by removing minor scratches and oxidation:
- Choose a Polish: Select a high-quality car polish suitable for your paint type.
- Application: Apply a small amount to a foam applicator pad.
- Buffing: Work the polish into the paint using circular motions, then buff off any residue with a clean microfiber cloth.
5. Waxing for Protection
Waxing seals the paint, providing a protective barrier against environmental elements:
- Select Wax: Use a paste or liquid wax designed for your vehicle.
- Apply: Spread a thin, even layer onto the surface.
- Buff: After the wax dries to a haze, buff it off with a microfiber towel to reveal a glossy finish.
6. Detailing the Wheels and Tires
Clean and protect your wheels and tires to complete the exterior detailing:
- Wheel Cleaner: Spray a wheel-specific cleaner and let it sit for a few minutes.
- Scrub: Use a brush to remove brake dust and grime.
- Rinse and Dry: Thoroughly rinse off the cleaner and dry the wheels.
- Tire Dressing: Apply a tire protectant to restore color and prevent cracking.
7. Interior Detailing
A clean interior enhances the overall appearance and comfort of your vehicle.
a. Vacuuming
Start by vacuuming the seats, carpets, and all interior surfaces. Use attachments to reach tight spaces like under the seats and between cushions.
b. Cleaning Surfaces
- Dashboard and Console: Wipe down with a damp microfiber cloth and an appropriate cleaner.
- Seats: Use a fabric or leather cleaner based on your seat material. Gently scrub and wipe clean.
- Windows: Spray glass cleaner on the inside and outside of windows, wiping with a lint-free cloth for a streak-free finish.
c. Deodorizing
Eliminate odors by using an interior deodorizer or simply leaving windows open to air out the car.
Advanced Tips for Professional-Like Results
Use Quality Products
Investing in high-quality detailing products ensures better results and longer-lasting protection.
Work in Sections
Detailing one section at a time prevents products from drying too quickly and ensures thorough coverage.
Maintain Regularly
Regular upkeep prevents dirt buildup and keeps your car looking fresh. Aim for a full detail every few months and spot clean as needed.
Pay Attention to Details
Small touches, like cleaning door jambs and vents, make a significant difference in the overall appearance.
Common DIY Car Detailing Mistakes to Avoid
- Using Dish Soap: It can strip wax and damage the paint. Always use products specifically designed for cars.
- Overusing Chemicals: Excessive use of cleaners can wear down surfaces. Follow product instructions carefully.
- Rushing the Process: Take your time to ensure each step is done thoroughly for the best results.
- Ignoring Test Spots: Always test a small area first to ensure the product doesn’t damage the surface.
Real-Life Success Stories
Case Study: Restoring a Vintage Car
John, a car enthusiast, used DIY car detailing to restore his 1990 Mustang. By meticulously following each step washing, claying, polishing, and waxing he not only revived the car’s original shine but also increased its market value by 15%. His attention to detail, especially in interior cleaning and tire dressing, made his Mustang a standout at local car shows.
Data-Driven Insights
According to a 2023 survey by AutoDetailers Association, 65% of car owners who engage in DIY car detailing report higher satisfaction with their vehicle’s appearance compared to those who rely solely on professional services. Additionally, regular DIY detailing can extend the lifespan of your car’s paint and interior surfaces by up to 30%.
Frequently Asked Questions (FAQ)
1. How often should I detail my car?
For optimal maintenance, it’s recommended to detail your car every three to four months. However, factors like weather conditions and usage can influence the frequency.
2. What’s the difference between waxing and sealing?
Waxing provides a natural shine and a protective barrier, while paint sealants offer longer-lasting protection with a more durable synthetic formula. Many detailers use both, applying sealant first and then wax for enhanced shine.
3. Can DIY detailing remove deep scratches?
While DIY car detailing can minimize minor scratches through polishing, deep scratches may require professional repair or paint correction techniques.
4. What’s the best way to protect my car’s interior from UV damage?
Using UV protectant sprays on dashboards and seats can prevent fading and cracking. Additionally, parking in shaded areas or using sunshades helps reduce exposure to harmful UV rays.
5. Is it necessary to use a clay bar?
Using a clay bar removes embedded contaminants that washing alone can’t, resulting in a smoother surface and better paint protection. It’s a crucial step for achieving a flawless finish.
Conclusion: Take Control of Your Car’s Appearance
Mastering DIY car detailing empowers you to maintain your vehicle’s beauty and value without the recurring costs of professional services. By investing in the right tools, following systematic steps, and avoiding common mistakes, you can achieve impressive results that rival those of professional detailers. Start your detailing journey today and enjoy the satisfaction of a beautifully maintained car.
Finance & Investment
View All
March 7, 2025
High Paying Finance Jobs 2025Elevate your online presence! Discover expert SEO content strategies to rank higher, attract more traffic, and convert users effectively.
Ellie Moore

April 2, 2025
Cryptocurrency Staking: A Smart Investment GuideUnderstand cryptocurrency staking and how it works. Learn strategies to earn passive income and maximize rewards in the crypto world!
Ellie Moore

March 29, 2025
Gold’s Role in a Diversified PortfolioDiscover why gold and precious metals are essential in a diversified portfolio. Protect your wealth with these timeless investments!
Ellie Moore

January 21, 2025
Neighborhood Finance Corporation HelpMaster expert SEO content to boost rankings & authority. Learn to create valuable, E-E-A-T-driven content that builds trust and dominates search.
Ellie Moore

September 1, 2025
MBA in Finance Career BenefitsElevate your rankings & authority with expert SEO content. Learn how valuable, E-E-A-T-driven insights captivate audiences and boost online success.
Ellie Moore

March 31, 2025
Protect Your Portfolio in a Market DownturnDiscover strategies to safeguard your portfolio during market downturns. Learn how to minimize losses and thrive in uncertain times.
Ellie Moore
Insurance
View AllEssential Direct Car Insurance: Your Roadmap to Unwavering Protection Are you losing valuable peace of mind and financial security due to inadequate car insuran...
Ellie Moore

Unpredictable risks threaten your business. Secure comprehensive protection with Complete Business Insurance Plans to safeguard assets, ensure continuity, and f...
Ellie Moore

Secure optimal insurance protection without overspending. Learn how policyholders and risk managers can get cheap, high-value coverage today.
Ellie Moore

Safeguard your assets with our guide to Complete Safeco Insurance Coverage. Understand options, compare quotes, and get peace of mind.
Ellie Moore

Secure superior protection with Premium Freeway Insurance Coverage. Go beyond basic policies to mitigate risks, ensure financial stability & peace of mind.
Ellie Moore
Secure Your Sanctuary: Unpacking Essential Renters Insurance Georgia Plans Are you leaving your financial security to chance, risking thousands in unforeseen da...
Ellie Moore


Education
View All
Teacher burnout is on the rise. Learn about its causes, consequences, and practical solutions to support educators and improve well-being.
Read More
Strong school-community partnerships can drive student success. Discover the benefits and strategies for effective collaboration.
Read More
Discover how assistive technology empowers special needs learners. Learn about tools that foster inclusivity and enhance educational outcomes.
Read More
Compare Montessori and traditional education methods. Discover which approach is more effective for fostering creativity and independence in students.
Read More
Unschooling is redefining education. Learn how this self-directed approach works and why more families are embracing it as an alternative to traditional schooling.
Read More
Micro-credentials are on the rise! Discover how they provide fast, focused skills for today’s learners and reshape education.
Read MorePopular Post 🔥
View All
1
2
3
4
5
6
7
8
9
10
Health


Automotive
View All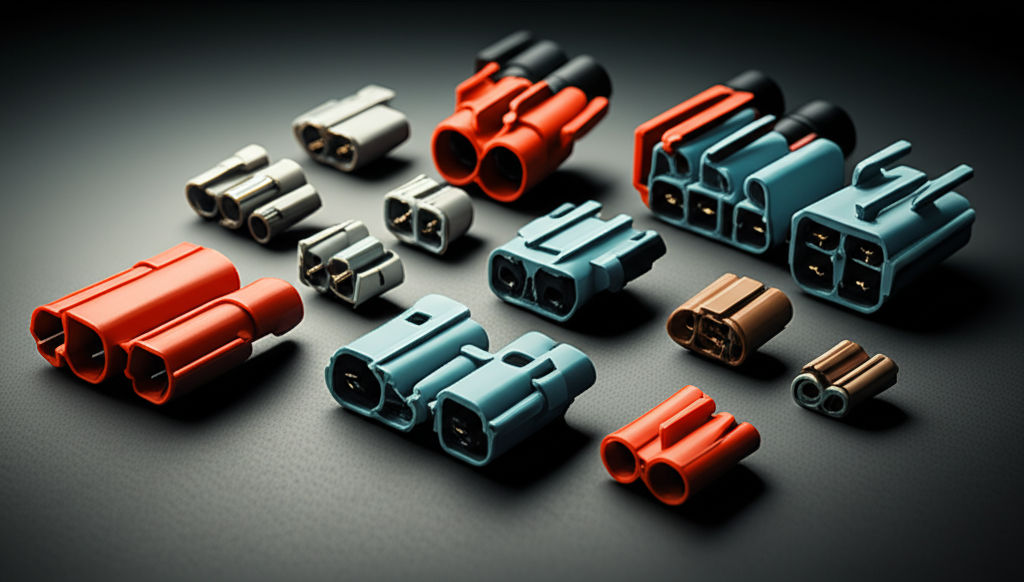
August 15, 2025
Best Automotive Electrical Connectors Reviewed
Boost vehicle safety & performance! This guide reveals why quality automotive electrical connectors are crucial & helps you choose the best ones.
July 30, 2025
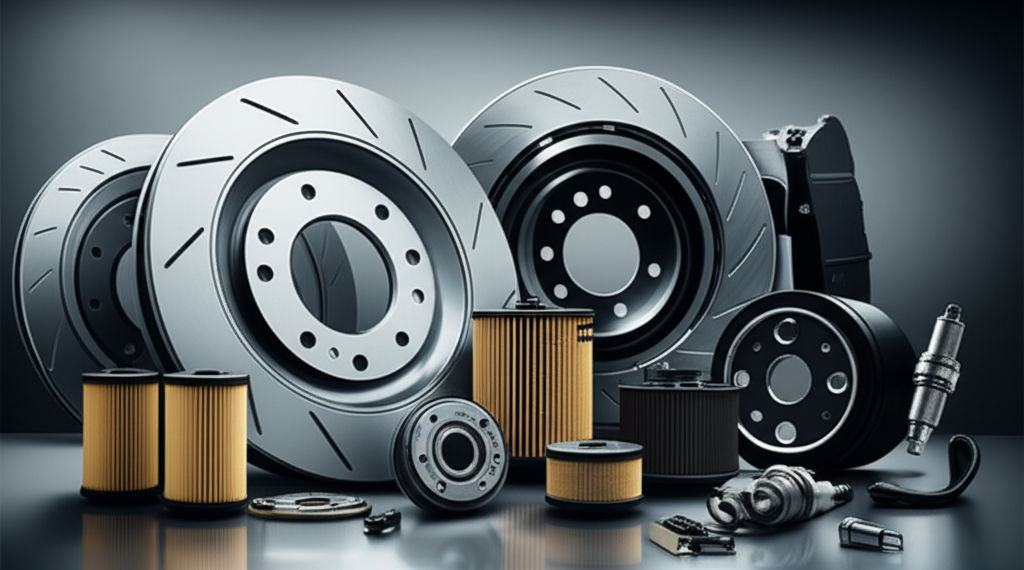
AM Automotive Parts That Keep Your Car Running
Your car's unsung heroes: Essential AM automotive parts. Learn how aftermarket components ensure reliability, performance, and affordable vehicle maintenance.
February 10, 2025
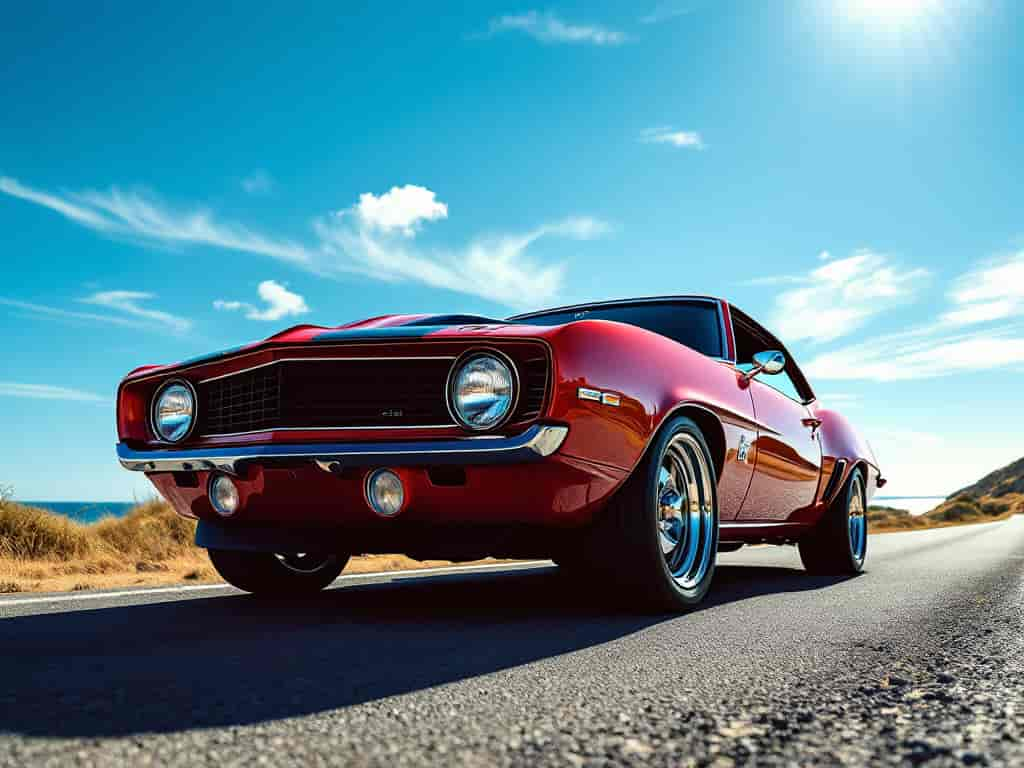
Retro Car Features We Miss and Want Back
From bench seats to hidden headlights, check out the retro car features we’d love to see return. Which nostalgic design is your favorite?

September 4, 2025
Automotive Sales Jobs Near Me You Should Try
Drive your career in auto sales! Discover a lucrative, dynamic path with high earning potential, skill development, and great growth opportunities.
August 8, 2025
How To Connect Wires In An Automotive Plug Easily
DIY automotive wiring guide: Learn to connect car wires safely & reliably. Fix electrical issues and install accessories with confidence.
February 4, 2025
Tire Care Guide: Boost Tire Life & Performance
Maximize tire life with essential tire care tips! Learn how proper maintenance improves performance and ensures safety on every drive.