How To Use Automotive Body Filler Like A Pro
Ellie Moore

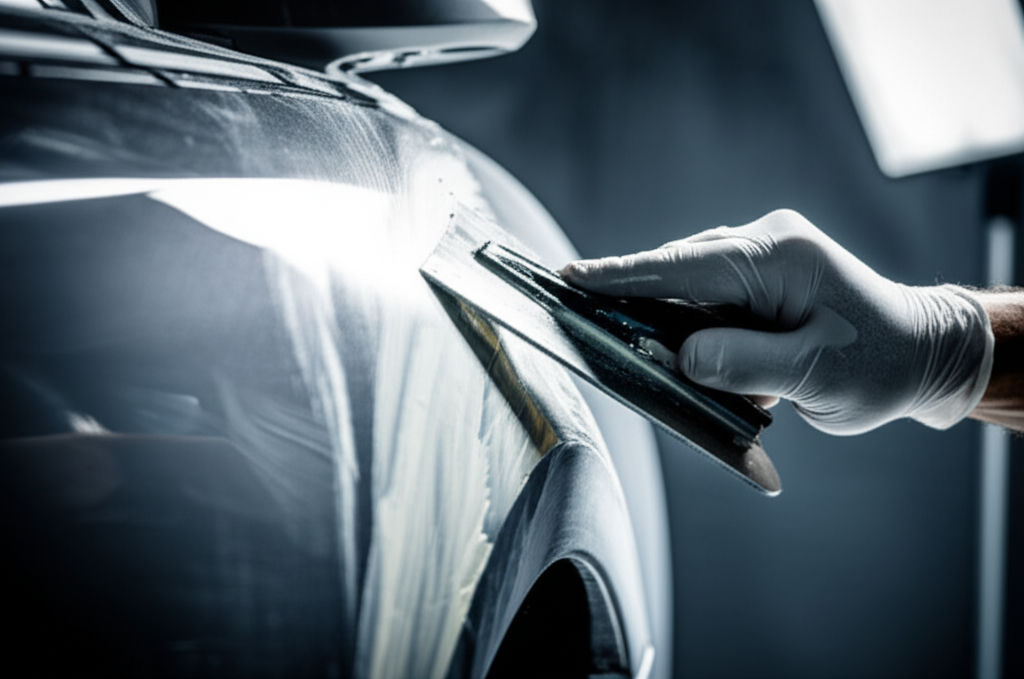
Photo: Transform car dents into perfection! Learn to use automotive body filler like a pro with our ultimate guide, from choosing to sanding for seamless repairs.
How To Use Automotive Body Filler Like A Pro: Your Ultimate Guide to Flawless Repairs
Dents, dings, and imperfections are an inevitable part of vehicle ownership. While they can be frustrating, the good news is that achieving a smooth, factory-like finish on your car's body is entirely possible, even for the DIY enthusiast. The secret weapon? Automotive body filler. Often colloquially referred to by the brand name "Bondo," body filler is a versatile material that, when used correctly, can transform a damaged panel into a pristine surface ready for paint.
This comprehensive guide will demystify the process, taking you from novice to professional-level application of automotive body filler. We'll cover everything from choosing the right product to mastering the art of sanding, ensuring your next auto body repair project looks seamless and lasts.
Understanding Automotive Body Filler: More Than Just "Bondo"
Automotive body filler is a two-part product, typically consisting of a polyester resin and a cream hardener. When mixed, these components create a putty-like substance that hardens quickly, allowing you to fill in low spots, scratches, and even small holes. The cured filler can then be sanded, shaped, primed, and painted to match the surrounding area, making the damage virtually disappear.
It's important to note that "Bondo" is a specific brand of body filler, much like "Kleenex" is to facial tissues. Many manufacturers produce high-quality automotive body fillers, each with slightly different characteristics.
Types of Automotive Body Filler
Choosing the right type of body filler for your project is crucial for achieving optimal results. Different fillers are formulated for specific repair needs:
- Standard Polyester Fillers: These are general-purpose, lightweight fillers, easy to spread, and cure relatively quickly (around 20-25 minutes). They are ideal for minor dents, scratches, and surface irregularities on steel panels. However, they may not offer strong stain resistance and are not recommended for galvanized steel.
- Medium Grade / Fiberglass Fillers: Also known as fiberglass-filled or fiberglass-reinforced fillers, these contain fiberglass strands for added strength and durability. They are excellent for repairing small holes, cracks, and areas requiring extra reinforcement, such as over welded seams. While strong and durable, they can be more challenging to sand.
- Premium Grade / Lightweight Fillers: Made from high-quality resin, these fillers offer superior stain resistance and are exceptionally easy to sand, providing excellent adhesion. They are ideal for larger repairs and achieving a high-quality, smooth finish. Lightweight fillers are particularly good as a final coat over conventional fillers for a fine finish.
- Glazing Putty / Finishing Putty: These are very fine, thin-bodied fillers designed for the final touch-ups. They are perfect for filling tiny imperfections, pinholes, and sanding scratches that might remain after using a primary filler, creating an ultra-smooth surface before priming. They cure quickly and have low shrinkage.
- Metal-Based Body Fillers: These fillers include aluminum particles for increased strength, durability, and water resistance, making them suitable for high-heat areas and direct-to-metal repairs. Some can even be drilled and tapped.
Essential Tools and Materials for Professional Body Filler Application
Before you begin, gather all necessary tools and materials. Having everything on hand will ensure a smooth and efficient repair process.
- Automotive Body Filler & Hardener: Choose the appropriate type for your repair.
- Mixing Board: A non-porous surface like a plastic mixing board, glass pane, or even a clean piece of sheet metal is ideal. Avoid cardboard as it can absorb chemicals and introduce contaminants or air into the mix.
- Plastic or Metal Spreaders: Used for mixing and applying the filler. Metal spreaders can offer more defined edges and last longer.
- Sanding Blocks: Essential for achieving a flat, even surface.
- Sandpaper (Various Grits):
- Coarse (e.g., 80-grit) for initial shaping and material removal.
- Medium (e.g., 180-grit) for refining the shape.
- Fine (e.g., 320-grit) for final smoothing before primer.
- Finer grits (e.g., 400-600 grit) for primer sanding.
- Cleaning Supplies: Degreaser, wax and grease remover, clean rags or microfiber cloths, and tack cloths.
- Masking Tape and Paper: To protect surrounding areas.
- Safety Gear: Respirator mask (to protect against toxic fumes and dust), safety glasses, and gloves (nitrile gloves are recommended).
- Optional: Body hammers and dollies (for initial dent removal), orbital sander (for larger areas), spot putty (for pinholes), primer, and automotive paint.
Preparation is Key: The Foundation of a Flawless Repair
The success of your body filler application hinges on meticulous surface preparation. Skipping steps here will lead to poor adhesion, cracking, and a noticeable repair.
- Clean the Damaged Area Thoroughly: Begin by washing the entire panel with soap and water to remove dirt, grime, and wax. Follow up with a solvent-based wax and grease remover to ensure the surface is completely free of contaminants.
- Remove Major Dents and Rust: Body filler is for leveling and smoothing, not for structural repair or filling deep voids. If there's a significant dent, use body hammers and dollies to get the metal as close to its original shape as possible. For rust, it's critical to remove all traces of corrosion, either by sanding it off or cutting out the rusted section and patching it with sheet metal or mesh. Body filler will not adhere properly to rust and will eventually fail.
- Sand to Bare Metal (or Prepared Paint): For optimal adhesion, it's generally best practice to sand the repair area down to bare, clean metal. Use 80-grit sandpaper on a sanding block or orbital sander, extending 2-4 inches beyond the damaged area. This creates a rough surface, or "key," that the filler can grip onto. While some modern fillers can adhere to properly prepared paint, sanding down to metal is often recommended for the strongest bond and to avoid issues like "paint sinkage" or "edging" later. Featheredge the paint around the repair area to create a smooth transition.
- Re-clean and Degrease: After sanding, wipe the area again with a degreaser and a tack cloth to remove all sanding dust and any lingering oils.
- Mask Off Surrounding Areas: Use masking tape and paper to protect adjacent panels from accidental filler application or sanding dust.
Mixing Automotive Body Filler Like a Master
Mixing body filler correctly is critical for proper curing and workability. Too much or too little hardener, or improper mixing, can lead to a host of problems, including cracking, pinholes, or uncured spots.
- Knead the Hardener: Before dispensing, knead the hardener tube thoroughly to ensure the contents are uniformly mixed. Resins can separate from the cream part.
- Dispense Filler and Hardener: Squeeze out the desired amount of body filler onto your non-porous mixing board. For beginners, start with small, golf-ball-sized amounts to avoid wasting material, as it cures quickly. Add the hardener according to the manufacturer's instructions, typically a small ribbon across the filler. The ratio is crucial; a common guideline is 2-4% hardener by weight, or roughly a 50:1 ratio for some products. Too much hardener can cause brittleness, cracking, and "peroxide bleed-through" (pink stains), while too little will result in slow curing or soft spots.
- Mix Thoroughly: Using your spreader, mix the filler and hardener by folding and flattening, rather than stirring in a circular motion. This technique helps to minimize air entrapment, which can lead to pinholes. [2, 7, 18,
Finance & Investment
View All
March 14, 2025
Chase Auto Finance Support InfoMaster expert SEO content to dominate search results. Learn to create high-quality, authoritative content that builds trust and meets user intent, going beyond...
Ellie Moore

May 31, 2025
Best 0 Car Finance Deals 2025Unlock higher rankings & conversions with expert SEO content. Learn how to create valuable, optimized content for humans and search engines.
Ellie Moore

February 21, 2025
Yahoo Finance USA Market NewsGo beyond keywords. Discover how expert SEO content, powered by Google's E-E-A-T, builds trust, drives traffic, and establishes your brand authority.
Ellie Moore

November 21, 2024
10 Ways to Lower Your Tax Bill Before the End of the YearSlash your tax bill before the year ends! Discover 10 effective strategies to reduce your tax liability. Learn about deductions, credits, and planning tips. Start saving today!
Ellie Moore

January 20, 2025
Top Tools for Effective Competitive AnalysisExplore the best tools for competitive analysis and how they help businesses understand and outperform their competition.
Ellie Moore

April 21, 2025
Wells Fargo Home Financing TipsUnlock online visibility & growth with expert SEO content. Learn to craft high-quality, E-E-A-T content that ranks high and engages your audience.
Ellie Moore
Insurance
View AllExplore how InsurTech startups are transforming the insurance industry with innovation and cutting-edge solutions.
Ellie Moore
Climate change impacts are rising—learn how climate risk insurance offers protection against extreme weather and environmental losses.
Ellie Moore
Find out why term life insurance is more popular, affordable, and flexible than whole life. Choose the right coverage for you!
Ellie Moore
Protect your freelance career with tailored insurance. Discover coverage options for self-employed individuals.
Ellie Moore
Is earthquake insurance worth it? Learn about coverage, costs, and risks to make an informed decision for your property.
Ellie Moore
Save on premiums with usage-based auto insurance. Learn how your driving habits shape coverage and costs!
Ellie Moore
Education
View AllDiscover how flipped classrooms work and why they’re becoming popular. Learn the key benefits of this innovative teaching approach.
Read MoreIs a college degree still worth it? Dive into a detailed analysis of the ROI on higher education, including costs, benefits, and future prospects.
Read MoreProviding education in conflict zones is a major challenge. Learn about the barriers and efforts to ensure learning continuity in crisis situations.
Read MoreCompare Montessori and traditional education methods. Discover which approach is more effective for fostering creativity and independence in students.
Read MoreExplore how emotional intelligence impacts academic performance. Learn strategies to help students develop emotional skills for better learning outcomes.
Read MoreDiscover how assistive technology empowers special needs learners. Learn about tools that foster inclusivity and enhance educational outcomes.
Read MorePopular Post 🔥
View All
1
2
3
4
5
6
7
8
9
10
Health


Automotive
View All
February 5, 2025
Connected Cars & IoT: Driving into a Smarter Future
Learn how connected cars and IoT are reshaping the auto industry. Discover what this new tech era means for drivers. Ready for the future?

July 10, 2025
Top Tips From Expert Automotive Locksmiths
Get expert tips from automotive locksmiths! Your ultimate guide to car key & lock security, covering lockouts, lost keys, and programming.

August 13, 2025
VIP Automotive Premium Service For Your Car
Elevate your car care with VIP Automotive Premium Service. Discover proactive, personalized maintenance for peak performance, longevity, and an ultimate driving...

July 21, 2025
Williams Automotive Care And Service Insights
Ensure a healthier, safer, and longer-lasting vehicle. Learn proactive car care insights from Williams Automotive to prevent costly repairs.

August 16, 2025
Automotive Holdings Group Limited Overview
Uncover the impact of Automotive Holdings Group (AHG) on Australia's car market, its rise, and its pivotal acquisition by AP Eagers.

August 14, 2025
Top Apps For Automotive Needs And Repairs
Discover essential automotive apps for diagnostics, maintenance, navigation, and more. Enhance your car ownership with convenience, savings, and safety.


